全自动化安装指导
环境要求
使用 kickstart 进行 EulixOS 1.0 系统的全自动化安装的环境要求如下:
- 物理机/虚拟机(虚拟机创建可参考对应厂商的资料)。包括使用 kickstart 工具进行自动化安装的计算机和被安装的计算机。
- httpd:存放 kickstart 文件。
- tftp:提供 vmlinuz 和 initrd 文件。
- dhcpd/pxe:提供 DHCP 服务。
- ISO:EulixOS-Server-1.0-aarch64.iso。
操作步骤
使用 kickstart 进行 EulixOS 系统的全自动化安装的操作步骤如下:
环境准备
说明:
安装之前,请确保http服务器的防火墙处于关闭状态。关闭防火墙可参照如下命令:
iptables -F
httpd 的安装与服务启动。
# dnf install httpd -y
# systemctl start httpd
# systemctl enable httpd
tftp 的安装与配置。
# dnf install tftp-server -y
# vim /etc/xinetd.d/tftp
service tftp
{
socket_type = dgram
protocol = udp
wait = yes
user = root
server = /usr/sbin/in.tftpd
server_args = -s /var/lib/tftpboot
disable = no
per_source = 11
cps = 100 2
flags = IPv4
}
# systemctl start tftp
# systemctl enable tftp
# systemctl start xinetd
# systemctl status xinetd
# systemctl enable xinetd
安装源的制作。
# mount EulixOS-1.0.iso /mnt
# cp -r /mnt/* /var/www/html/EulixOS/
设置和修改 kickstart 配置文件 EulixOS-ks.cfg,参考[3]安装源的目录,此处选择 http 安装源。
#vim  /var/www/html/ks/EulixOS-ks.cfg
====================================
***以下内容根据实际需求进行修改***
#version=DEVEL
ignoredisk --only-use=sda
autopart --type=lvm
# Partition clearing information
clearpart --none --initlabel
# Use text mode install
text
# Keyboard layouts
keyboard --vckeymap=cn --xlayouts='cn'
# System language
lang zh_CN.UTF-8
#Use http installation source
url  --url=http://192.168.122.1/EulixOS/
%post
#enable kdump
sed  -i "s/ ro / ro crashkernel=1024M,high /" /boot/efi/EFI/EulixOS/grub.cfg
%end
...
修改 pxe 配置文件 grub.cfg,可参考如下内容。
# cp -r /mnt/images/pxeboot/* /var/lib/tftpboot/
# cp /mnt/EFI/BOOT/grubaa64.efi /var/lib/tftpboot/
# cp /mnt/EFI/BOOT/grub.cfg /var/lib/tftpboot/
# ls /var/lib/tftpboot/
grubaa64.efi  grub.cfg  initrd.img  TRANS.TBL  vmlinuz
# vim /var/lib/tftpboot/grub.cfg
set default="1"

function load_video {
  if [ x$feature_all_video_module = xy ]; then
    insmod all_video
  else
    insmod efi_gop
    insmod efi_uga
    insmod ieee1275_fb
    insmod vbe
    insmod vga
    insmod video_bochs
    insmod video_cirrus
  fi
}

load_video
set gfxpayload=keep
insmod gzio
insmod part_gpt
insmod ext2

set timeout=60

### BEGIN /etc/grub.d/10_linux ###
menuentry 'Install EulixOS 1.0 with text mode' --class red --class gnu-linux --class gnu --class os {
        set root=(tftp,192.168.1.1)
        linux /vmlinuz ro inst.text inst.geoloc=0 console=ttyAMA0 console=tty0 inst.ks=http://192.168.122.1/ks/EulixOS-ks.cfg
        initrd /initrd.img
}
DHCP 的配置(可以使用 dnsmasq 代替)。
# dnf install dhcp -y
#
# DHCP Server Configuration file.
#   see /usr/share/doc/dhcp-server/dhcpd.conf.example
#   see dhcpd.conf(5) man page
#
# vim /etc/dhcp/dhcpd.conf
ddns-update-style interim;
ignore client-updates;
filename "grubaa64.efi";    # pxelinux 启动文件位置;
next-server 192.168.122.1;  # (重要)TFTP Server 的IP地址;
subnet 192.168.122.0 netmask 255.255.255.0 {
option routers 192.168.111.1; # 网关地址
option subnet-mask 255.255.255.0; # 子网掩码
range dynamic-bootp 192.168.122.50 192.168.122.200; # 动态ip范围
default-lease-time 21600;
max-lease-time 43200;
}
# systemctl start dhcpd
# systemctl enable dhcpd
安装系统
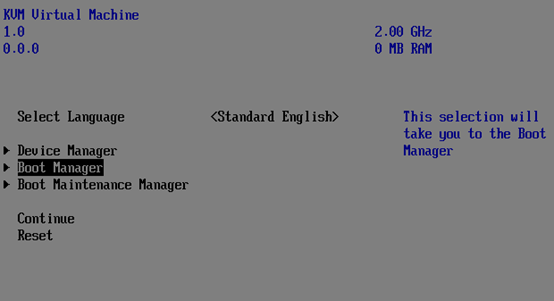
在 “Start boot option” 界面按下 “F2” 选择从网络 pxe 启动,开始自动化安装。


进入系统全自动化安装界面。
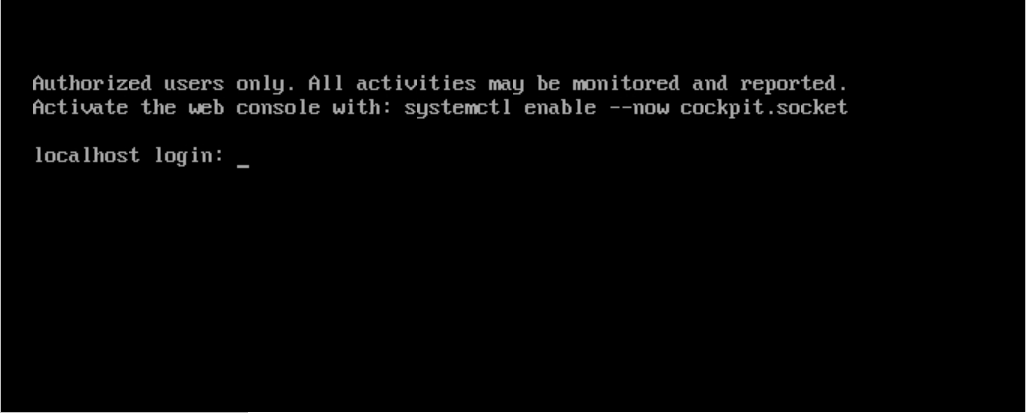
确认系统安装完毕。